Quite a few of you have purchased the Stamp-A-Ma-Jig after I demonstrated how it works in our last few workshops. This is the perfect tool to keep you from ever ruining a whole project with one crooked image! The stamp positioner gives you the ability to place an image exactly where you want it, every time. Allows for fast and precise stamp placement.
■ Perfect for word and letter stamps
■ Sturdy plastic construction
■ Includes washable plastic sheet
■ Black color exclusive to Stampin’ Up!
■ Nonskid base
■ Includes instructions
Here is my tutorial, complete with pictures and directions:
 1. Start with your Stamp-A-Ma-Jig, pictured above, includes imaging sheet and hand tool. The hand tool is made to use on either side to accomodate left-handed or right-handed people.
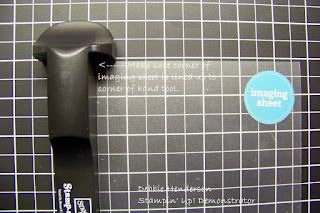 2. Position the imaging sheet so that the corner butts up against the hand tool. They should both fit snuggly against each other.
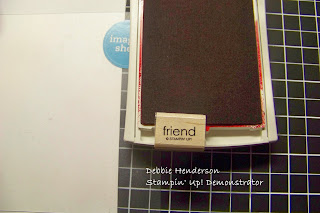
3. Gather your ink pad and the stamp image (the one that you don't trust yourself in placing perfectly straight on your cardstock). For this sample, I am using the word "friend" from "Wonderful Favorites". Ink your stamp.
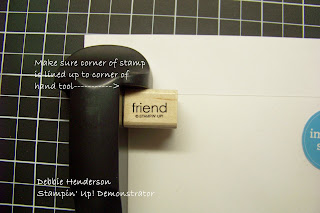 4. Carefully place your stamp in the corner where the imaging sheet and the hand tool meet. Once you are positioned in the corner, push your stamp along the hand tool straight down until you feel it "stamp" on the imaging sheet. Pull stamp away.
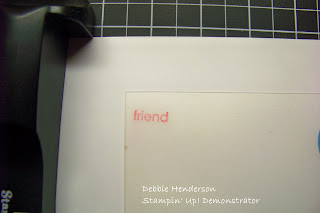
5. The picture above shows your inked sentiment on the image sheet. See how crooked the rubber was mounted on the wood block? This would have created a very crooked word on your cardstock! . Prepare your stamp for stamping on cardstock by inking it so it is ready to go.
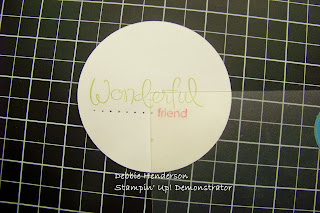
6. Using your image sheet and carefully placing it over your cardstock piece, align it straight to your liking. If you are leary of your cardstock piece moving, add just a tad bit of zotto or snail to the back to hold it in place.
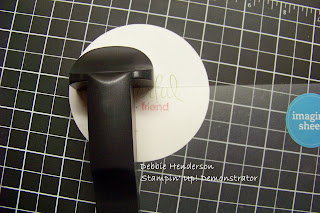 7. Once you have your image sheet to your liking, add the handle tool to the corner of your image sheet. Press down on your handle so that it holds the cardstock in place, remove the imaging sheet.
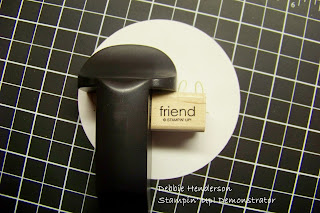
8. Now you are ready to stamp your image. Place stamp in the corner of hand tool, press straight down and your image should be perfect!
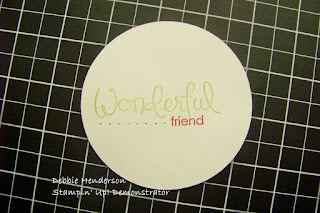
9. Picture of completed stamped image using your Stamp-A-Ma-Jig!
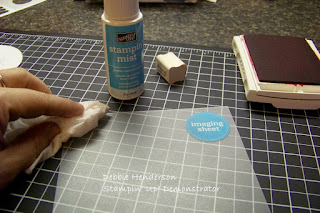
10. Clean your image sheet by spraying it with Stampin' Mist and wipe clean with a tissue. That easy!!!
Stamp-A-Ma-Jig-Item #101049
Preferred Price: $11.95
If you should have any questions on this product or the tutorial, please feel free to contact me.
Debbie Henderson
Stampin' Up! Demonstrator
deb_henderson@hotmail.com
Shop 24/7: http://www.stampinup.net/esuite/home/debbiehenderson/
Stampin' Up! Demonstrator
deb_henderson@hotmail.com
Shop 24/7: http://www.stampinup.net/esuite/home/debbiehenderson/
 15 years ago


Không có nhận xét nào
Đăng nhận xét